To add a logo to your new or existing waiver, follow these steps below:
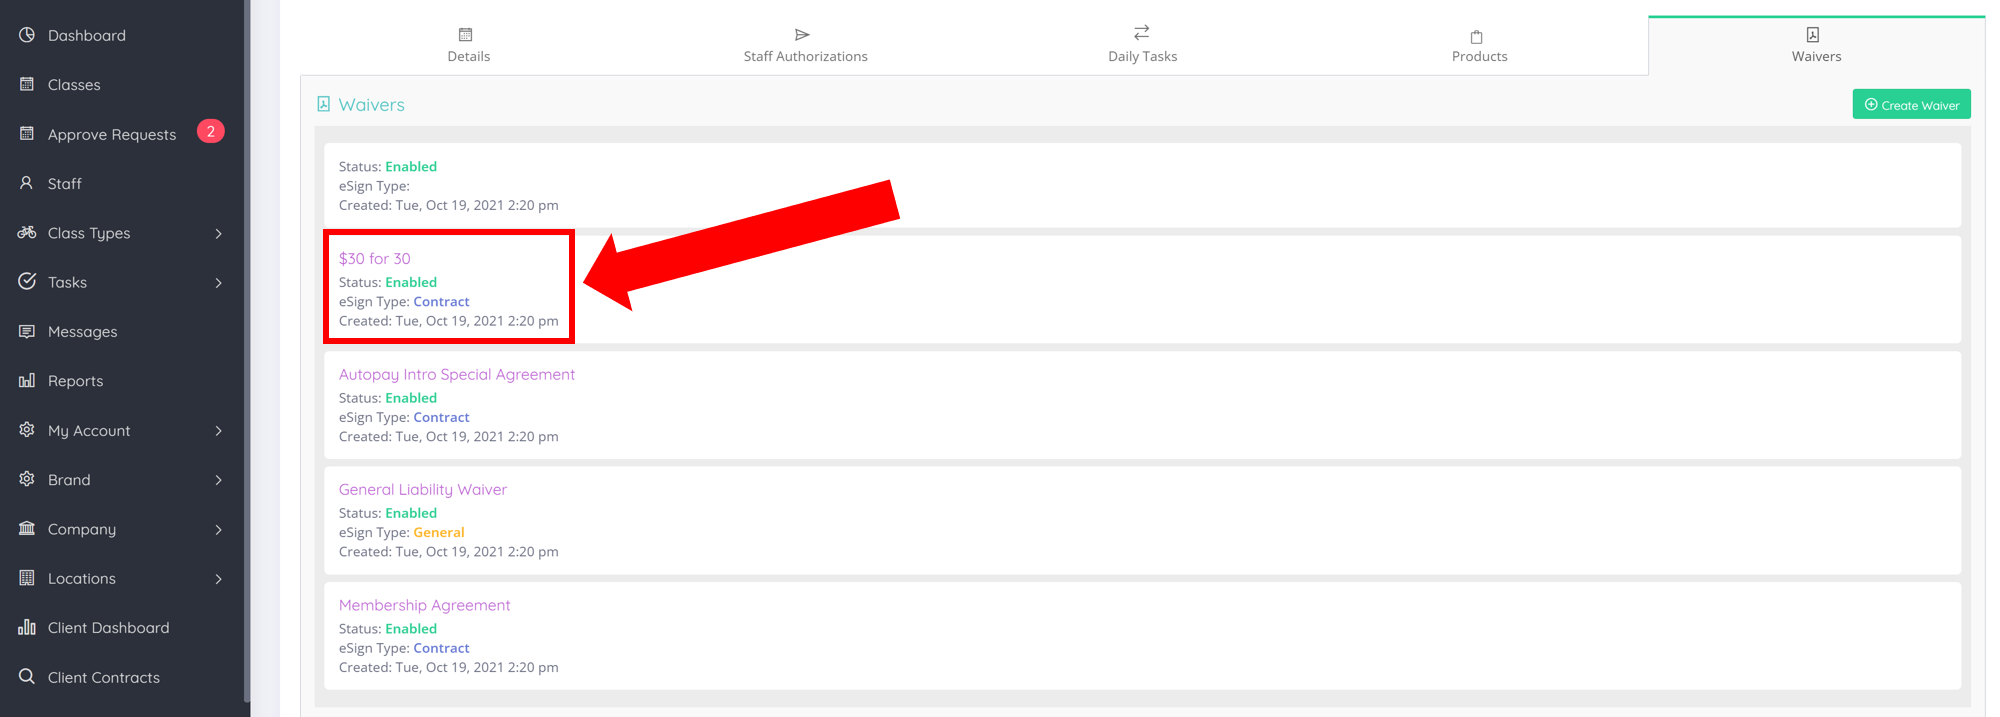
- Open the waiver you wish to add a logo to:
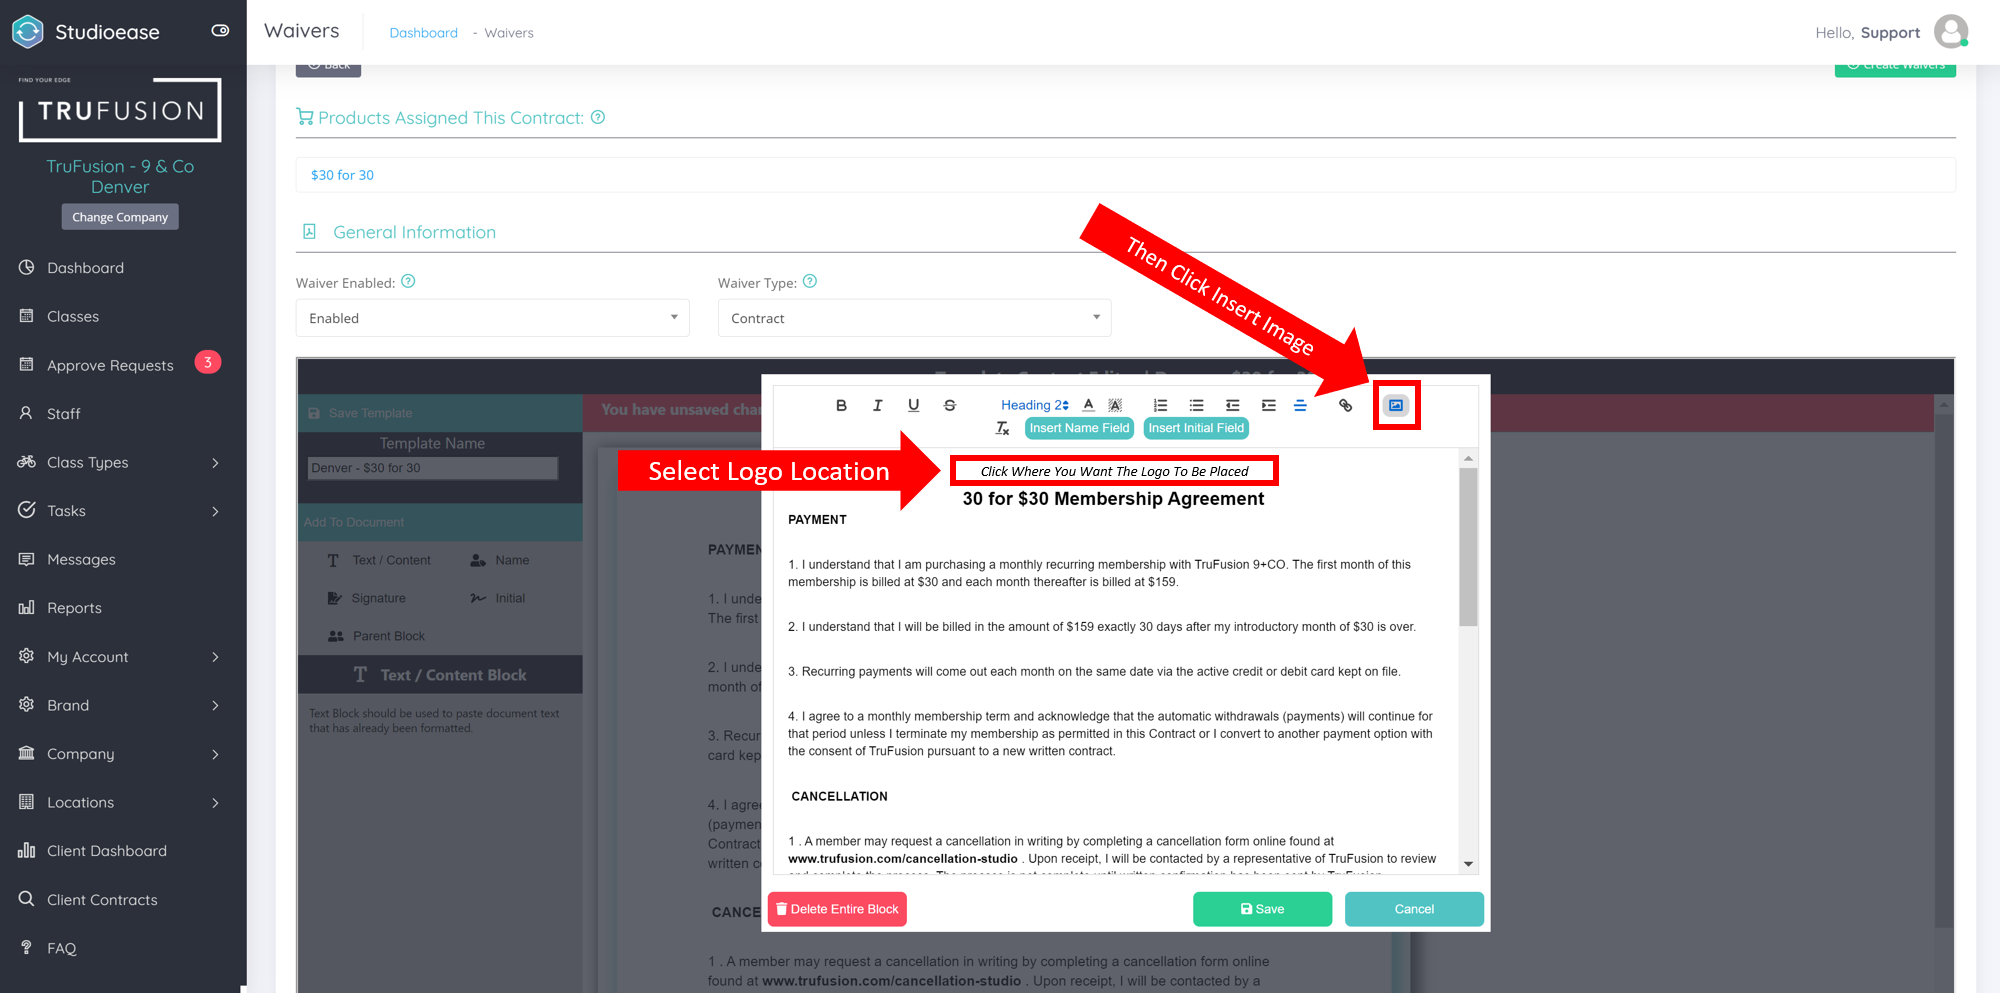
- Click on the Text /Content Block where you wish to add a logo.

- Once you open the Text / Content block editor, select where you want the logo located by clicking your cursor in the desired area. After clicking where you want the logo to be placed, click the 'Insert Image' button on the toolbar above.
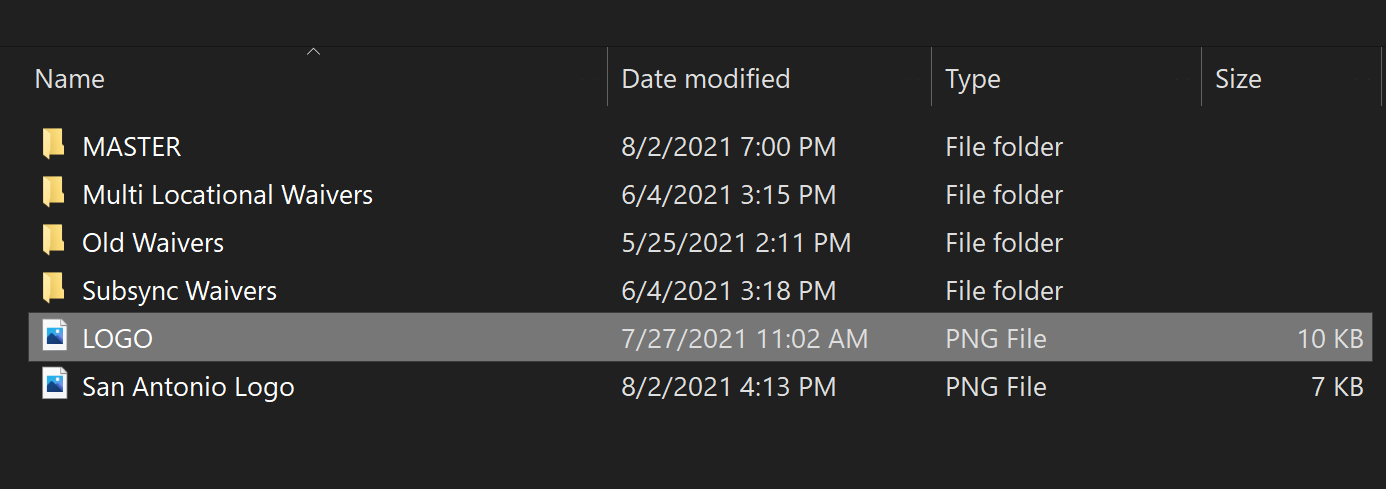
After you click the 'Insert Image' button, a file explored will appear. Find the logo you want to insert by going to the folder where your logo is saved on your computer.
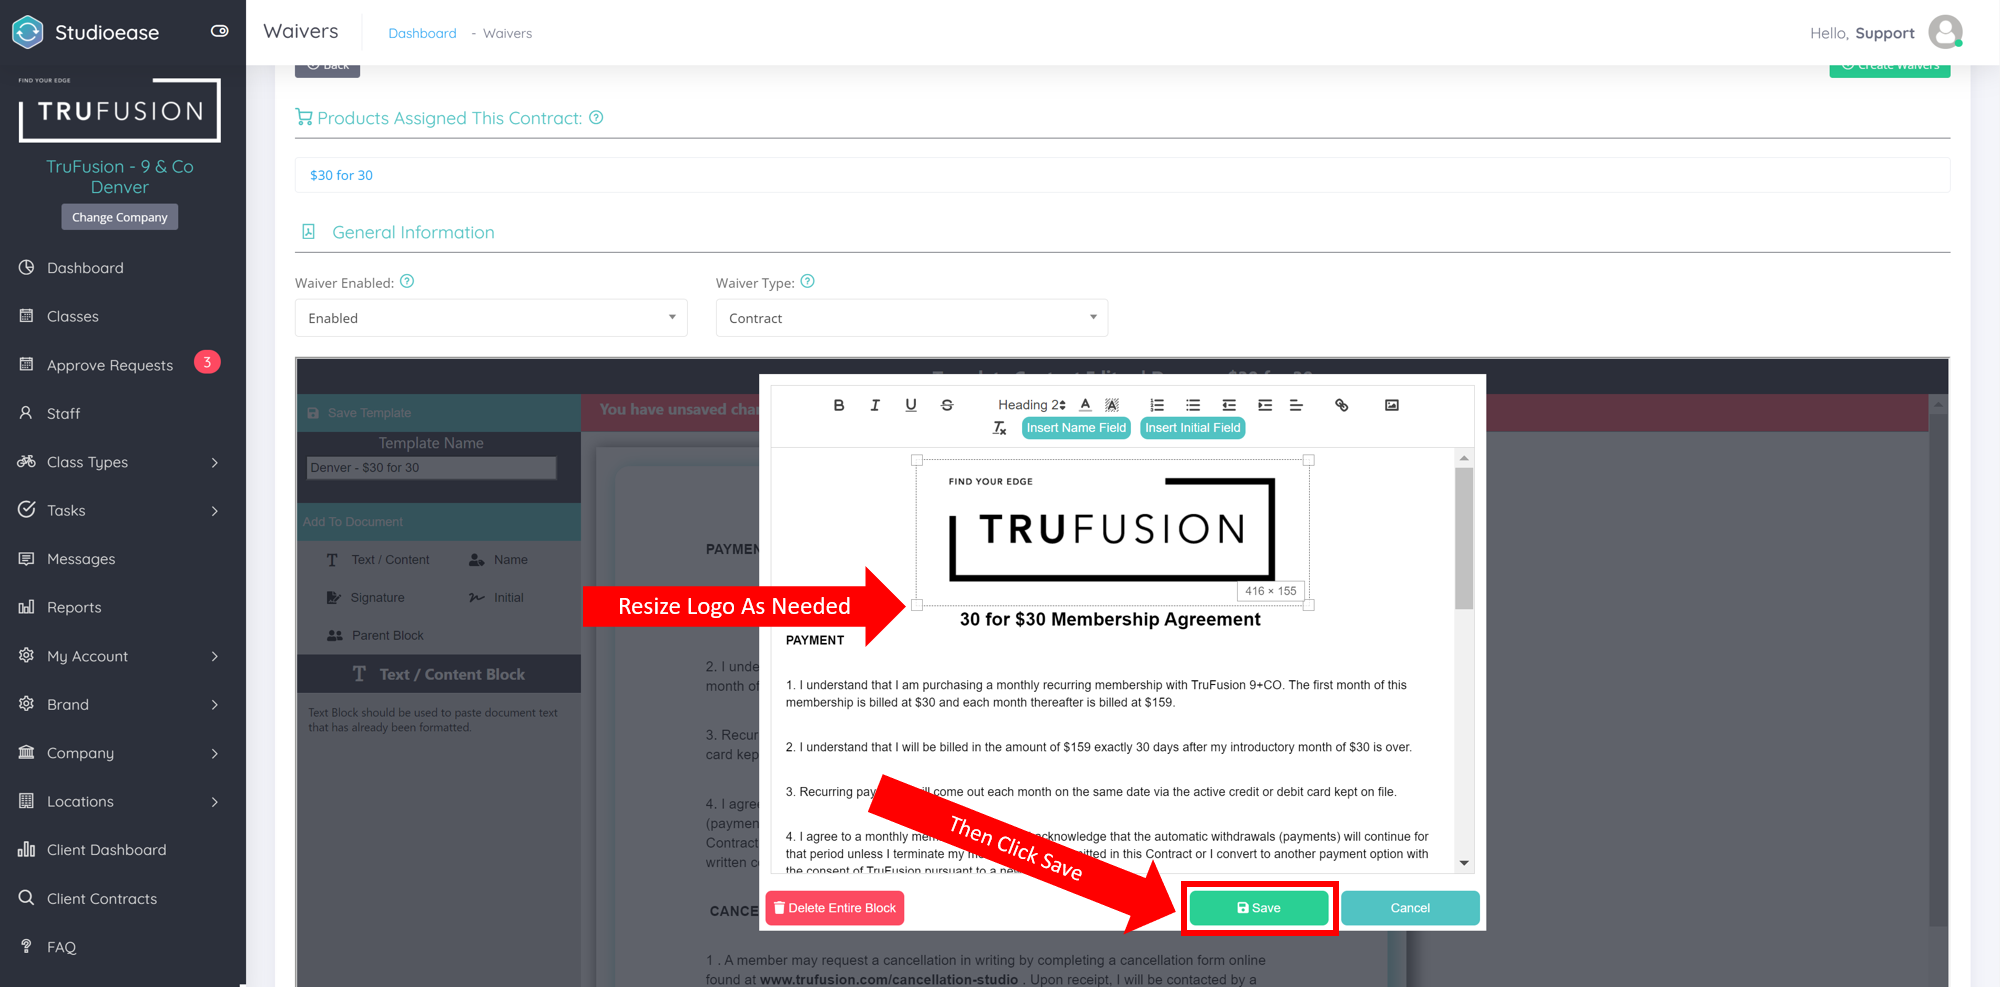
You will now see that your logo has been added to the waiver. Lastly, you will want to adjust the size of the logo by dragging one of the corners of the image until you get the desired size. You can also center the logo by clicking the 'Center Align' button on the toolbar (the button on the toolbar with 3 horizontal lines). Once completed, click the green 'Save' button on the bottom right of the screen.
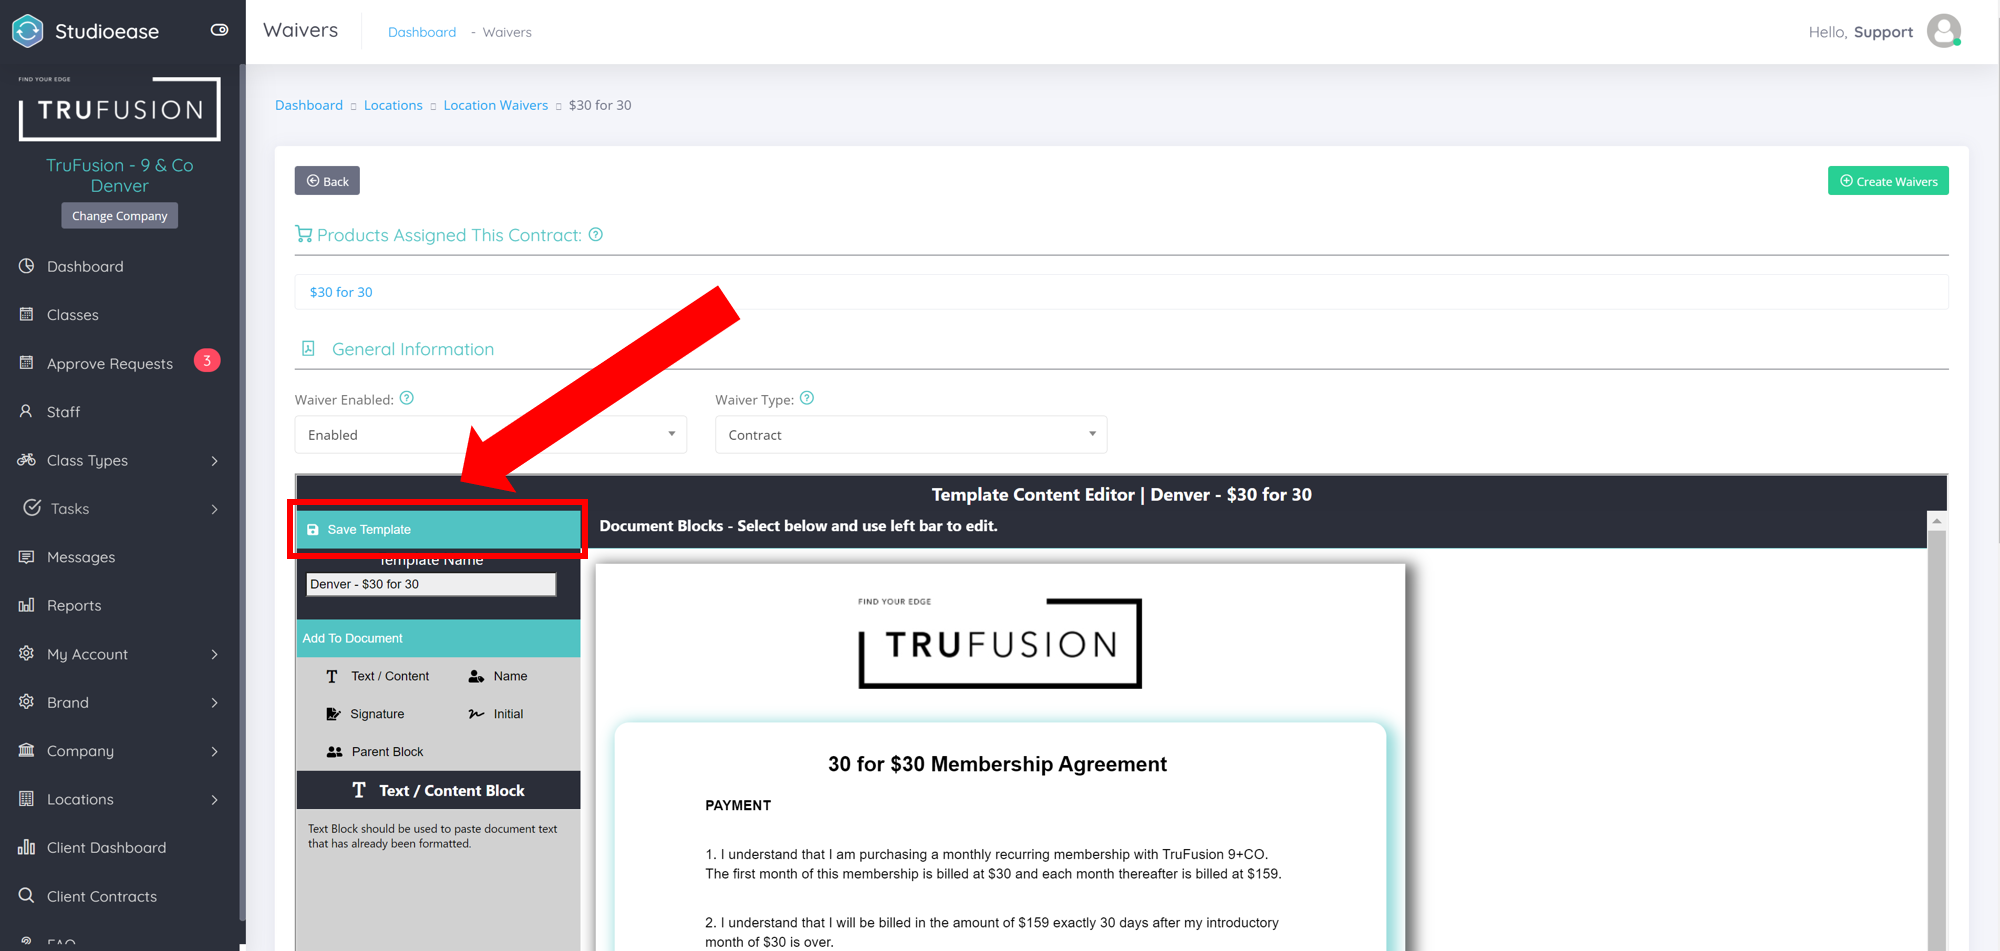
Lastly, click the blue 'Save Template' button on the top left of the waiver builder.